We have briefly mentioned in previous blog articles some of the benefits and reasons you might want use an external render system, but it is worth further elaborating on these points and more as to why rendering an external wall is beneficial to a property.
Improve the external appearance of a property
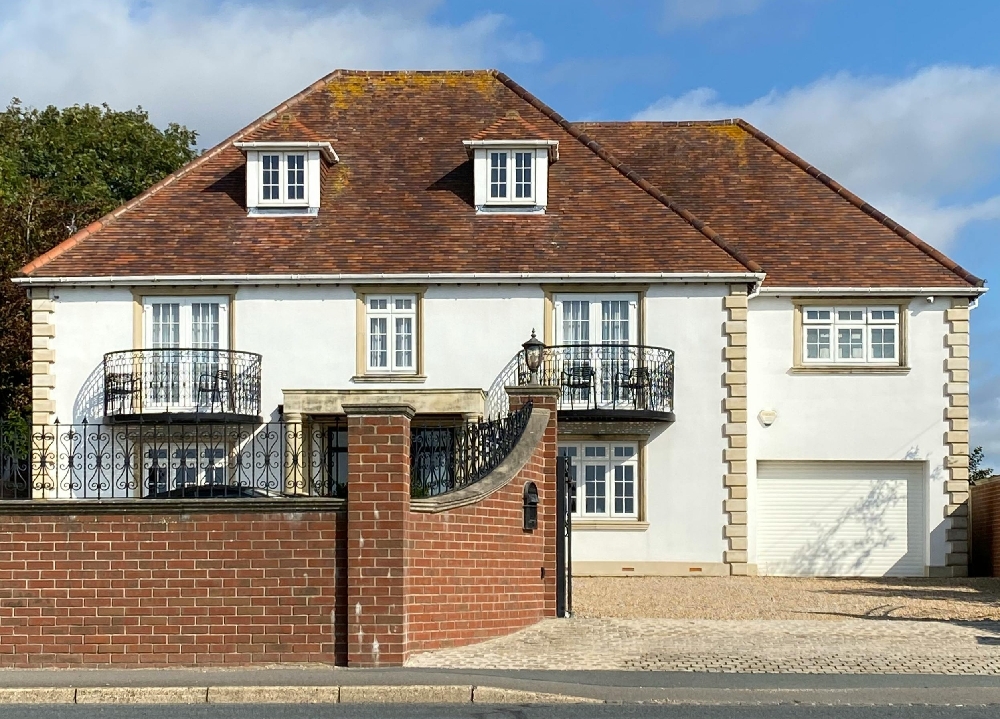
There’s no denying that applying a render system to an old, tired-looking building will transform its appearance – making it look modern and more visually appealing. Local authorities will often use render when renovating their properties for this reason.
This aesthetic improvement can be beneficial in multiple ways – if you live in the property - it makes your home look nice. If you looking at selling a property, it can make it look more visually appealing to potential buyers.
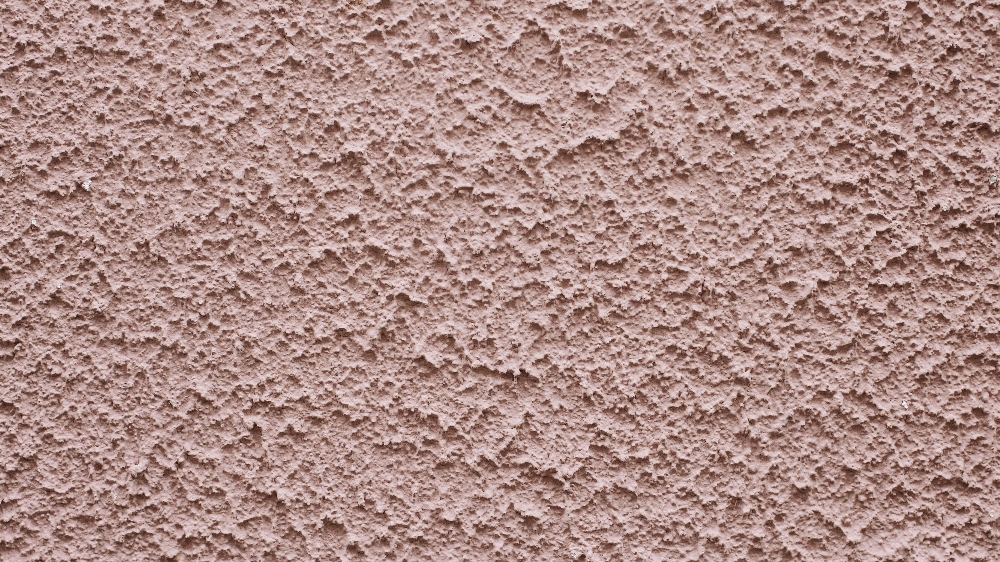
From a wide range of colours, to a huge selection of textures and finishes, there are a wealth of possibilities available when rendering a house.
Increase the thermal efficiency of walls
Some renders – like the K Rend Silicone Thin Coat range – can be used as part of an External Wall Insulation System. While most render systems themselves are not classed as insulating (though they do provide a small amount of innate insulation), when used as part of an EWI system they can help increase the thermal efficiency of walls and reduce heating bills – not to mention the other benefits featured in this article.
Weatherproofing
External walls that are in a poor condition can lead to the ingress of water and external debris which will worsen if left untreated. The use of a render system on an external wall forming a barrier, protecting a building from the elements. These renders incorporate water repellent technology, protecting against water whilst still allowing the substrate to breathe.
One of the biggest advantages of coloured external render is that it improves the appearance of a property while also helping protect the external walls from the weather. Modern coloured render systems are available in a wide range of textures and finishes, giving both homeowners and developers far more choice than traditional painted surfaces.
Many modern silicone render systems also offer improved flexibility and water resistance, helping reduce maintenance and keeping the finish looking cleaner for longer.
If you need help with applying render or you would like to know more about the benefits of render, contact our experts today.